✨ Made with Daftpage
Ledger.com/Start – How to Set Up Your Ledger Wallet
Ledger.com/start is the official page to begin setting up your Ledger hardware wallet. A Ledger device is a secure way to store and manage your cryptocurrency. It protects your digital assets by keeping your private keys offline, safe from hackers, phishing, and malware. This guide explains step-by-step how to set up your Ledger wallet, use Ledger Live, and keep your crypto safe.
1. What Is a Ledger Wallet?
A Ledger wallet is a small hardware device that stores the private keys to your cryptocurrencies. The most popular models are the Ledger Nano X, Ledger Nano S Plus, and Ledger Stax. These devices don’t store your actual coins; they store the private keys that give you access to your crypto on the blockchain. Because these keys are kept offline, Ledger wallets are much more secure than online wallets or exchanges.
When you own crypto, you must protect your private keys. If someone gets them, they can take your coins. Ledger keeps those keys safe inside a secure chip, so only you can confirm transactions physically on your device.
2. Go to Ledger.com/Start
To set up your Ledger, open a web browser and type www.ledger.com/start
directly into the address bar. Don’t search for “Ledger setup” or click ads, because fake sites sometimes try to trick users. The official Ledger website will guide you safely through the setup.
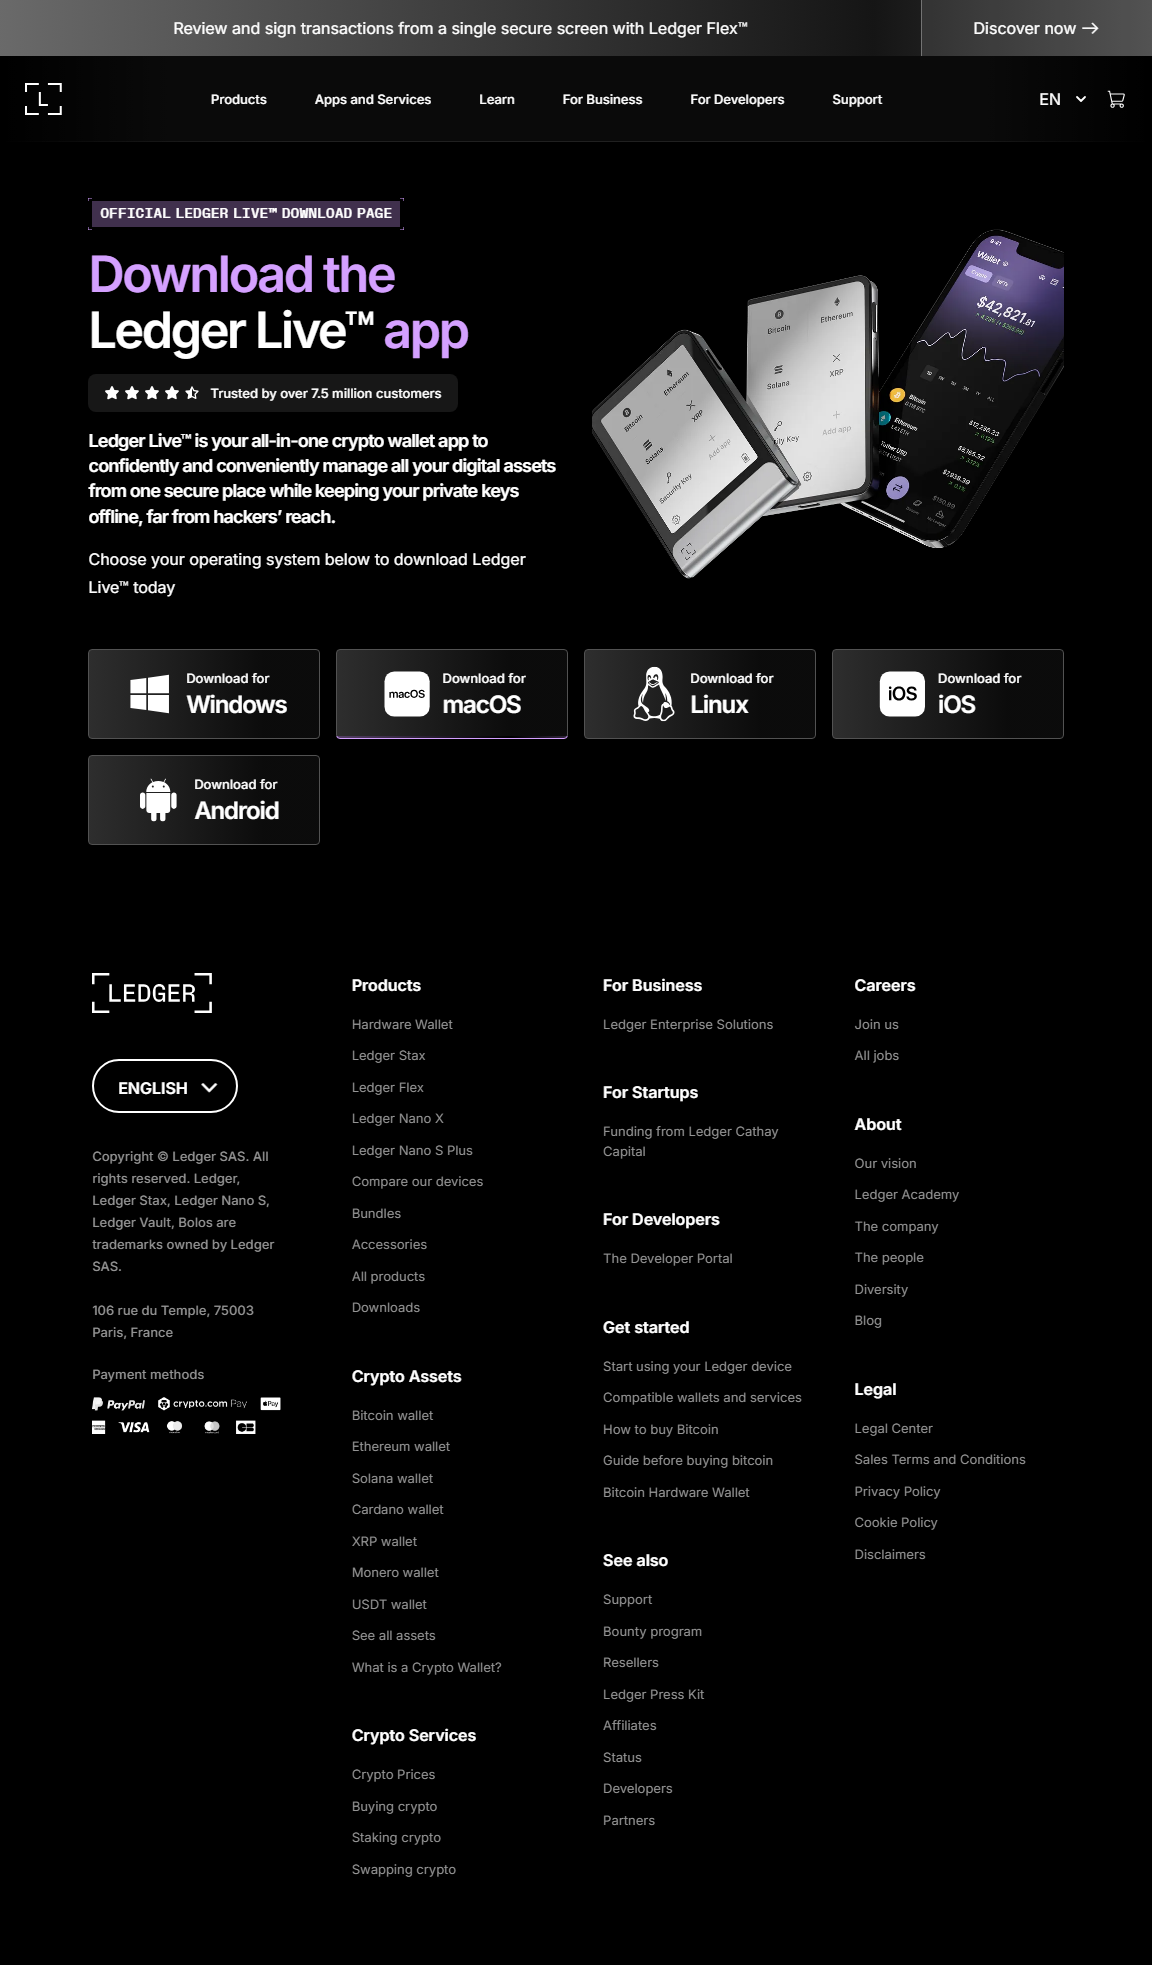
On the Ledger Start page, you will be asked to choose your device model and download Ledger Live, the companion app used to manage your crypto. Ledger Live is available for Windows, macOS, Linux, iOS, and Android.
3. What Comes in the Box
When you open your Ledger package, make sure everything looks brand new. Inside, you should find:
The Ledger device (Nano X, S Plus, or Stax)
A USB cable
Paper recovery sheets
A quick start guide
Ledger devices are always sealed and not preconfigured. If your device comes with a recovery phrase already written down, do not use it — it’s fake or tampered with. Return it immediately and report it to Ledger support.
4. Download and Install Ledger Live
Once you are on ledger.com/start, download the Ledger Live app. Follow the on-screen instructions to install it on your computer or phone. Then open the app and select “Get Started.”
You’ll see options to:
Set up a new device
Restore a device using a recovery phrase
Access the app if you already have a device
If this is your first time using Ledger, choose “Set up as new device.”
5. Initialize Your Device
Now it’s time to connect your Ledger to your computer using the USB cable (or Bluetooth for Nano X). Follow the steps on your device screen:
Choose a PIN code between 4 and 8 digits. This PIN protects your wallet if someone tries to use your device.
Write down your 24-word recovery phrase on the provided recovery sheet.
These 24 words are your only backup.
Never take a photo or store them on your phone or computer.
Keep the paper somewhere safe and private.
After writing down your recovery phrase, the device will ask you to confirm it word by word. This ensures you have written everything correctly.
6. Access Ledger Live
Once your device is initialized, open the Ledger Live app again. You’ll be asked to connect your Ledger and verify the device. Ledger Live will check if your firmware is up to date and confirm that your device is genuine. This step ensures you are not using a counterfeit device.
7. Install Apps and Add Accounts
Inside Ledger Live, go to the “My Ledger” tab. Here you can install apps for each cryptocurrency you want to use. For example, install the Bitcoin app to manage Bitcoin, or the Ethereum app to manage Ether and tokens.
After installing an app, go to “Accounts” and click “Add Account.” Select the coin type, open the corresponding app on your Ledger device, and Ledger Live will automatically add your wallet account.
8. Receiving Crypto
To receive crypto:
In Ledger Live, click Receive.
Select the account (for example, Bitcoin).
Ledger Live will show you a receiving address.
Verify that the address on your computer matches the one on your Ledger device screen. If they match, copy and share the address with the sender.
Always double-check the address on your device screen. Never trust the address shown only on your computer—it could be changed by malware.
9. Sending Crypto
To send crypto:
Click Send in Ledger Live.
Enter the recipient’s address and the amount.
Your Ledger device will show the transaction details.
Confirm everything on the device by pressing both buttons.
Transactions are only approved when you confirm them physically on the device. This protects you from hackers.
10. Keep Your Wallet Safe
Security is the most important part of owning crypto. Follow these safety tips:
Never share your 24-word recovery phrase.
Do not enter your recovery phrase on any website or computer.
Ledger will never ask for your recovery words.
Always download Ledger Live from ledger.com.
Store your recovery phrase in a safe and private place.
Consider writing it on metal for long-term durability.
If your device is lost or damaged, you can restore your wallet on a new Ledger device by selecting “Restore from recovery phrase” and entering your 24 words.
11. Why Choose Ledger
Ledger combines convenience and security. With Ledger Live, you can view your portfolio, buy and sell crypto, stake coins, and even connect to Web3 apps — all while keeping your keys safe in your device. Ledger gives you full control of your assets, so you don’t have to rely on exchanges or third-party wallets.
12. Final Thoughts
Setting up your Ledger wallet through ledger.com/start is simple and secure. The steps include downloading Ledger Live, creating a PIN, writing down your 24-word recovery phrase, and adding crypto accounts. Once set up, your funds are protected by world-class hardware encryption.
Your Ledger wallet gives you peace of mind that your crypto belongs only to you. Always remember: Not your keys, not your coins. With Ledger, your keys stay in your hands—safe, offline, and under your control.